Sunday, September 25, 2011

Top-Down (Bird's Eye View) Photography


Siena from the Top of the Tower. Taken in Siena, Italy. June 15, 2011. Nikon Coolpix P500. 

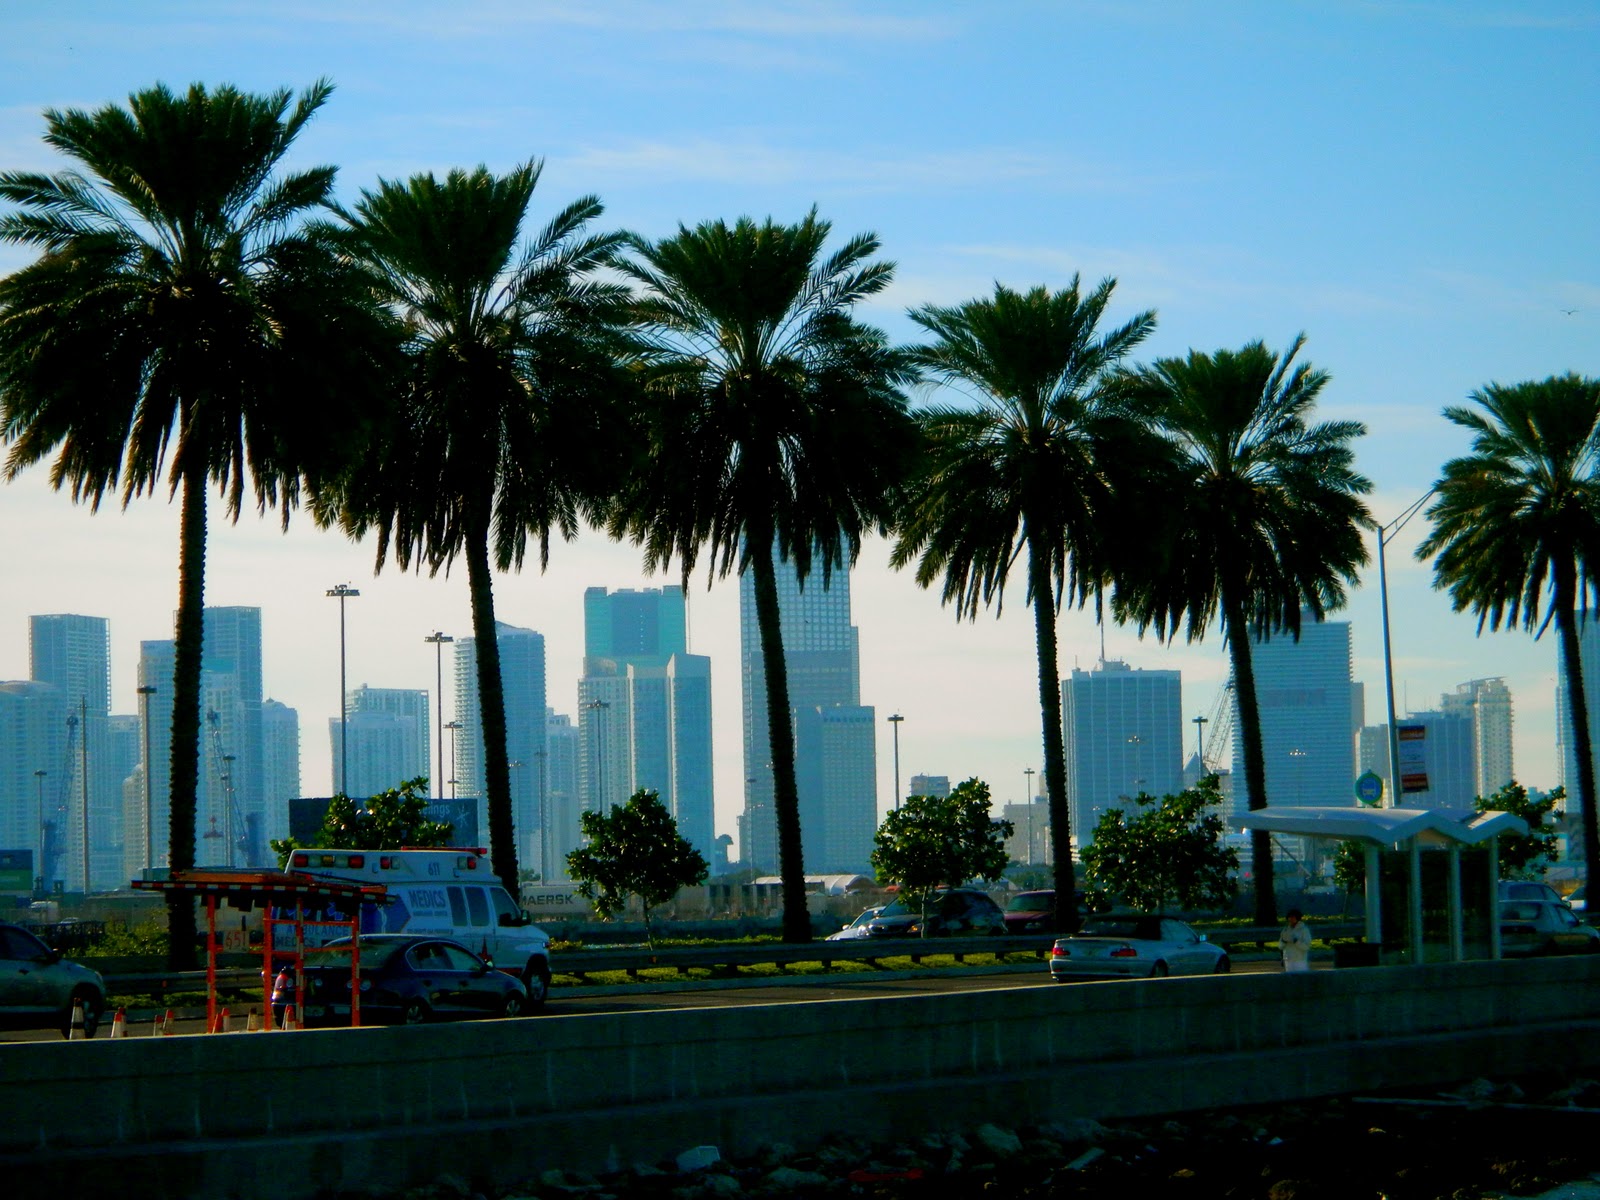
def: top down photos are taken from a view point that is higher than normal. Bird’s eye photos are taken from an extremely high aerial viewpoint, like that of a bird (top right picture of the lake is an excellent example taken from a plane).


Techniques:
- Top down photography can give a fresh point of view to pictures, making them more creative.
- Put your camera in a new intriguing viewpoint for a new photo, no gadgets needed.
- Look for a high point, such as balconies, trees, stairs etc. and see how much more interesting a scene becomes from above. Confusion can become patterns and chaos can become interesting from a fresh viewpoint.
- Even the simplest trick of bringing a step ladder with you places can help get a fresh perspective.
- The “Hail Mary” shot also helps when 
you hold your camera above a crowd, but it relies of feeling and adjustments for a good picture. 
Birds Eye photos are highly creative images because from such a high vantage point objects become more abstract. This is often used to make blueprints, floor plans and maps. Birds eye means an aerial viewpoint from a great height.


Lake Hartwell from a Small Plane. Taken in Hartwell, Georgia. June 11, 2010. Nikon Coolpix P500.

View from the top of St. Peter’s Basilica. Vatican City. June 3, 2011. Nikon Coolpix P500.


View from the Acropolis. Athens, Greece. June 20, 2011. Nikon Coolpix P500.

Florence Duomo View. Florence, Italy. June 10, 2011. Nikon Coolpix P500.
Citations:


Texture Photography


Delos Rocks. Taken in Delos, Greece. June 27, 2011. Nikon Coolpix P500.

def: any image that depends on the texture of the objects (the surface detail of an object in the image or the surface irregularities or small forms on a surface) for its impact.


Technique:
- Texture can be best in midday light (direct overhead) be- cause this helps to show texture on vertical surfaces, like the vertical columns on the left page which were both taken in strong midday light. Also side light is good for texture that is not vertical.
- In texture images the photograph is dependent on the detail of the surface. The actual object is less important, so the shot is often abstract.
- Shots are often nice taken in macro mode, which allows you to get very close to the subject and really photograph the texture.
- Texture adds drama to an image but doesn’t necessarily have to be the most important part of an image, like the bottom left photo on this page, which is a landscape but the texture adds to the drama and adds to the composition.
- Texture can be used to give realism to a photo or can itself be the focus. It strengthens photo when it’s not the subject.


Wood. Taken in Florence, Italy. June 11, 2011.

Didyma Temple of Apollo Column. Taken in Didyma, Turkey. June 25, 2011. Nikon Coolpix P500.


Pompeii Brick Column. Taken in Pompeii, Italy. July 8, 2011. Nikon Coolpix P500.

Sandy Beach Storm. Taken in St. Augustine, Florida. July 30, 2011. Nikon Coolpix P500. 
Citations:


Bigelow, R. Texture Photography -- Part 1. Retrieved from http:// ronbigelow.com/articles/texture- photography/texture-photography. html
Rowse, D. Using Light to Create Texture in Your Photography. Retrieved from http://www.digital- photography-school.com/using- light-to-create-texture-in-your- photography 

Sunset and Sunrise Photography


Thira Sunset with Boats. Taken in Santorini, Greece. July 1, 2011. Nikon Coolpix P500.

def: images that are captures in the distinct light of sunrises or sunsets, often utilizing silhouettes and other objects to make compositions more interesting.


Techniques:
- It’s best usually to stake out good places where there is good color, where you can’t see the sun track all the way down or where you have good foreground elements for silhouettes.
- Weather can add an interesting element. Clear skies produce good color (left two photographs) but often sunsets are best with clouds in the skies or even dust or smoke.
- It is best to shoot in a variety of focal lengths. Wide angle gives the best if looking for a wide landscape but if you want the sun to be the focus it is best to zoom in.
- Shooting with a wide variety of exposures is good too because most often cameras under expose the image and don’t really capture the light. Shifting to aperture or shutter priority mode can be helpful. Often cameras have a “bracket” exposure, and you can shoot below and above that.
- Auto white balance mode also risks losing color, so use a cloudy or shade mode. Also longer shutter speeds are good with tripods for longer focal lengths.

- Playing around with silhouettes and objects in your sunset images is also good for interesting compositions. When doing this, pay attention to the rule of thirds for placement of objects. 


Sunset. Taken in Clarkesville, Georgia. December 11, 2011. Nikon Coolpix P500. 
Cinque Terra Sunset. Taken in Vernazza, taly. June 15, 2011. Nikon Coolpix P500. 

ASnopacolypse Sunset. Taken in Clarkesville, Georgia. January 10, 2011. Nikon Coolpix P500. 


Venice Canal. Taken in Venice, Italy. June 20, 2011. Nikon Coolpix P500.


Famous Oia Sunset. Taken in Santorini, Greece. June 30, 2011. Nikon Coolpix P500.
Citations:


Rowse, D. 12 Tips for Photographing Sunrises and Sunsets. Retrieved from http://www.digital-photogra- phy-school.com/how-to-photograph-sunrises-and-sunsets 

Silhouette Photography


Cloudy London Eye. Taken in London, England. May 20, 2011. Nikon Coolpix P500, exposure low- ered. 

def: making your subject featureless apart from their outline against a bright background. This technique can be used to convey drama, mystery, emotion and mood to viewers.
Technique:
- Silhouettes are achieved by placing a subject in front of a source of light and forcing the camera to set its exposure based upon the brightest part of the background and not the subject of your image. This creates underexposed, black mostly, subjects. 
- The best silhouettes are subjects that are recognizable in shape and that are interesting enough in their two dimensional form and that are distinct (for example the London Eye to the left and the Santorini windmills below). 
- Subjects are best if kept separate if more than one. 
- Frame the image so that you’re shooting in front of a bright background. 
- The best light is in front of a sunset or sunrise, because you want the light on the back of your subject and not on the front. Essentially you want more light shining from the background than the foreground. 
- In auto mode most cameras auto adjust the exposure. If this isn’t getting the right effect, hold the shutter half down at the brightest part of the scene and and don’t lift until you have moved the camera to the subject so that the camera won’t automatically light up the subject. This way it will think the brightest part of the image is mid tone and everything else will be a dark shadow. 
- In manual mode it’s best to stop the shutter speed a bit. 
- You also want the subject to be in focus, so you can use a small aperture to maximize depth of field (the amount of image that is in focus).  
Single Windmill. Taken in Santorini, Greece. July 1, 2011. Nikon Coolpix P500.
Three Windmills. Taken in Santorini, Greece. July 1, 2011. Nikon Coolpix P500.

Villa Silhouette. Taken in Vicenza, Italy. June 20, 2011. Nikon Coolpix P500.
 Citations:

Rowse, D. How to Photograph Silhouettes in 8 Easy Steps. Retrieved from http://www.digital-photog- raphy-school.com/how-to-photograph-silhouettes
Leung, T. Silhouette Photography. Retrieved from http://www.picturecorrect.com/tips/silhouette- photography/


Tuesday, September 20, 2011

Rule of Thirds Photography


def: a photography technique where the photo is divided into thirds and subjects are placed at the intersection of the lines, or “sweet spots,” which allows the eye to take in the entire scene.


Technique:
- To begin using the rule of thirds, break the image down into thirds horizontally and vertically so it has nine parts. This gives you four intersections, which become the focal points of your photos to put points of interest. This division also give you four lines that serve as useful positions for elements in photos. These third divisions are represented on all the photos on this page by the 4 red lines.


- Theory says that if you put the points of interest at the intersections of the lines it balances the photo and enables the viewer to interact with the photo more naturally. Studies show that a person’s eye goes from intersection point to intersection point, not directly to the center.


- Placing horizons along horizontal lines is better for photography, because placing horizons in the center confuses the viewer. (Top right and middle right photos both have horizons on the horizontal lines).


- With portraits, placing the subject on a vertical line, like in the photo on the bottom right, is more appealing than placing the subject in the center.


- However, breaking the rule of thirds can also create an interesting composition. It is best when there is nothing else in the photo to compete with the subject and there is a strong balance, with symmetry on both sides of the scene and the subject in the center.


- The rule of thirds also creates bottom weighted photos and top weighted photos, depending on where the horizon is placed. Placing it at the top line creates a bottom heavy photo, like the top right photo, and placing it at the bottom creates a top heavy photo like the middle right photo.


- The rule of thirds is best used when the photographer thinks about it while taking the photo, getting used to visualizing the grid and the points of intersection.


The first photo on the top of the page ("Oia Cliff") applies the rule of thirds because 1) the horizon of the ocean is on the top line and the sky represents the top three thirds of the photo. 2) The edge of the cliff is hitting the bottom left intersection point and the cliff stays below the top line, making it a pleasing composition to the eye rather than if the cliff would have been surrounded by symmetrical ocean or placed farther over.


 The photos directly below ("Twin Bell Towers" and "Tri-Bell Tower") represent examples of similar subject matter taken obeying the rule of thirds and disregarding it intentionally.
- "Twin Bell Towers" uses the rule of thirds in that the top corner of the right bell tower is at an intersection and the left tower is at an intersection. Also the horizon is on a horizonal line. 

- "Tri-Bell Tower" has some interesting features of the tower at the interestction points but disobeys the rule by placing the tower directly in the center of the photo.
Both photos are interesting compositionally, and show that while the rule of thirds does add to a photo, sometimes disobeying it can be helpful.


citations:
Rowse, D. Rule of Thirds. Retrieved from http://www.digital-pho- tography-school.com/rule-of-thirds
Photo Gallery: Breaking the Rules. Retrieved from http://photogra- phy.nationalgeographic.com/photography/photo-tips/breaking-the- rules/
Altengarten, J. Creativity and the Rule of Thirds. Retrieved from http://scholar.googleusercontent.com/scholar?q=cache:JC_SFCj-PY4J:scholar.google.com/+rule+of+thirds+photography&hl=en&   


Repetition Photography


Villa D’Este Fountains. Taken in Tivoli, Italy. June 2, 2011. Nikon Coolpix P500.
def: repetition in photography emphasizes pattern and has an object repeated at least 3 times. When the pattern fills the whole frame, it can give the impression of large numbers, making it seem as if the pat- tern is bursting out. An alternate way to use repetition is to break the pattern, adding interest.

Techniques:
- Repetitions of a certain size, shape or color add to the strength of the overall image. Pattern in a pho- tograph is very similar to the relationship between rhythm and music.
- Patterns can fill the whole frame or a repetition can extend beyond and out of sight, giving the impression of infinite repetition when it dissapears into a point.
- Use the depth of field to hide some elements that do not fit into the patterns or to make those elements out of focus to that they just compliment the pattern.
- Often times you have to specifically arrange the composition to get the best view of the pattern you are photographing. 

Castle Walkway. Taken in Verona, Italy. June 18, 2011. Nikon Coolpix P500.

Breaking the Rule Techniques:
- Another technique dealing with repetition is breaking a pattern.
- Breaking the pattern keeps the repetition from becoming boring.
- It creates a “spot” in the photo. The deliberately created spot creates opposition in the photograph and
forces the viewer to look again and again.
- Often the “spot” in the photo can consider the rule of thirds, the 9 square grid system on photos that
forms four focal points at the line intersections to help decide where to place the “spot.” At any of the four intersections the “spot” would be ideal because the eye is automatically drawn to those areas. See the Rule of Thirds post for more detail. 


Ostia Caldera Floor. Taken in Rome, Italy. June 1, 2011. Nikon Coolpix P500. 


Palm Tree Skyline. Taken in Miami, Florida. January 4, 2011. Nikon Coolpix P500.

Archway Support. Taken in Pergamon, Turkey. June 26, 2011. Nikon Coolpix P500. 


Citations:
Garrison, T. Repetition and Patterns in Photography. Retrieved from http://www.picturecorrect.com/tips/repetition-and- patterns-in-photography/
Rowse, D. Using Repetitions and Patterns in Photography. Retrieved from http://www.digital-photography-school.com/ using-repetition-and-patterns-in-photography
(2011, July 19). Repetition in Composition. Retrieved from http://www.learnoutdoorphotography.com/2011/07/repetition- in-composition.html.


Reflection Photography


Autumn Reflection. Taken in Dahlonega, Geogia. October 15, 2011. Nikon Coolpix P500.    

def: a technique of using reflective surfaces to capture images. Examples of surfaces include water, windows, and mirrors. Reflection offers a great way to create abstract images.


Technique:
- Depth of field is important with reflection photography. Selecting a higher f-number helps level out the subjects of the shot so the eye perceives them in closer relation, which enhances the reflection.
- Focus also depends a lot on the distance between the subject and the reflection. When the reflection is farther apart, try focusing the camera on the reflection itself and then on the subject that is reflecting. Explore different viewpoints to find the angle at which the reflection is most visible.
- A tripod is useful for reflection photography because it gives more sharpness to the photograph.
- A slightly longer shutter speed can help smooth out the water sometimes.
- The image above is an example of water refection. This image doesn’t include the subject that is being reflected but the trees are reflected almost identically into the water. 

Lighting with Reflections Techniques:
- Light is best when it is either bright and early or at the evening when the sun is setting.
- A polarizing filter can help control the amount of surface shine that is coming from the water for more advanced cameras.
- The last image ("Canal Reflection") is another water reflection photo where the colors and light of the canal are reflecting on the black canal water.
- The image "Florence Duomo View" is using a reflective object to reflect the cloudy sky and some of the photographer while looking out at the view. The image below takes advantage of mirror reflections in the mirrored aviators to reflect the fall foliage. Angle is important to avoid capturing the camera in the shot. 
Sunglasses Reflection. Dahlonega, Georgia. October 9, 2010. Nikon Coolpix P500.

Florence Duomo View. Taken in Florence, Italy. June 16, 2011. Nikon Coolpix P500. 

Canal Reflection. Taken in Vencice, Italy. June 20, 2011. Nikon Coolpix P500. 


Citations:
Bray, S. (November 2010). Quick Tip: 4 Steps to Remarkable Reflection Photography. Retrieved from http://photo.tutsplus.com/articles/composition- articles/quick-tip-4-steps-to-remarkable-reflection- photography/ 

Motion Photography


def: photography that captures motion in one of three ways: motion blur photography, panning mo- tion photography or still motion photography.


Kyle Riding at the Track. Taken in Clarkesville, Georgia. July 20, 2011. Nikon Coolpix P500.  
Panning Motion Technique:

- Panning works when you move the camera in perfect motion with the subject in perfect sync, not just from side to side. It is easier to pan a fast moving subject than a slow moving one. Panning results in a blurred background but an in focus subject that is actually in motion. However it requires the right background with enough detail to produce streaks.


Still Motion Photography Technique:

- This has a high shutter speed and captures the image at a stopped point while in motion, like the image "Sledding on a Snow Day," with everything in focus. 


Motion Blur Photography Technique:

- Motion blur is frequently used to show the sense of speed. This can be achieved using a slow shutter speed. The reason for the motion blur is because the amount of time the shutter of a camera is open is long enough to allow your camera’s image sense to ‘see’ the movement of the subject.
- Longer shutter speeds risks overexposing because of the amount of light being let in to the photo. To counteract the amount of light the aperture must be decreased, which cuts down on the amount of light being let into the camera by changing the size of the hole that the light comes through.
- For this photography the camera needs to be perfectly still or else it looks like the entire image is blurred.
- Motion blur is seen in the photos to the left ("Kyle Riding at the Track" and "Panther Creek Rapids"). 


Sledding on a Snow Day. Taken in Clarkesville, Ga. December 29, 2009. Nikon Coolpix P500. 

Panther Creek Rapids. Taken in Tiger, Georgia. June 16, 2009. Nikon Coolpix P500.


 Citations:
Rowse, D. How to Capture Motion Blur in Photography. Retrieved from http://www.digital-photography-school.com/ how-to-capture-motion-blur-in-photography.
Rodrigues, V. (2008 August). 45 Beautiful Motion Blur Photos. Retrieved from http://www.smashingmagazine. com/2008/08/24/45-beautiful-motion-blur-photos/
Richardson, J. (2010 September). Panning - Motion 101. Retrieved from http://photography.nationalgeographic.com/photography/photo-tips/motion-photography-panning-richardson/.

Light and Shadow


Evening Skiing. Taken in Hartwell, Georgia. July 31, 2011. Nikon Coolpix P500.
def: the use of light in photographs can be used to create sharp contrast, reflections, and most importantly lighting for subjects. The positioning of the light, the type of light, and the color of light all affect how subjects appear and some are more flattering than others.


Different Light Technique:

- direct intense light can be harsh, such as bright sunny days, and unflattering.
- Diffused less intense light is more flattering and has lower contrast. Diffusion can be done using shade, a scrim, or shooting on overcast days for a natural diffusion.
- The color of light is also important: some light has a bluish tint while others have more of a golden tint. White balance settings can help with appropriating the type of light you’re using. Indoor lighting usually yields a yellow cast. 


Positioning of Light:
Tree Shadow in Ruins. Taken in Paestum, Italy. July 6, 2011. Nikon Coolpix P500.

- The photo "Direct Beach Light" has the sun directly in front of the subjects, resulting in squinting and harsh contrast.
- The photo "Beach Backlight" utilizes backlighting which is the most flattering, and slightly silhouettes the subjects in front. Often a fill flash can be used with back- lighting to fill in the needed light. 


def: Shadows can emphasize emotions, create surreal images, silhouettes, and establish the correlation of one object to another and their place in the full scene. Shadows can create pattern, silhouettes, or direct shadows of objects.


Technique: 
- Shadows are often the most powerful in black and white photographs, such as the picture "Evening Light Studying" which in black and white yields the most apparent contrast between the light and the shadow.
- In color photographs shadow most often is used to silhouette, which happens some in the photograph "Lover's Path Shadows" where the inside of the columns becomes silhouetted against the bright colorful exterior.
- Position and strength of shadows establishes general mood.


Technique for shadow photography:
- Play around with exposure. You can set it lower and get a darker shadow or go a little higher and get some detail in your shadow.
- Hard shadows are achieved using a very bright light sources, like a strong light, and make a statement 

Direct Beach Light. St. Augustine, Florida.May 29, 2010. Nikon Coolpix P500.

Becah Backlight. St. Augustine, Florida.May 29, 2010.
Nikon Coolpix P500.


Evening Light Studying. Taken in Atlanta, Georgia. September
 1, 2011. Nikon Coolpix P500. Black & White.

Light Through the Pan- theon Oculus. Taken in Rome, Italy. June 3, 2011. Nikon Coolpix P500. 

Lover’s Path Shadows. Taken in Cinque Terra, Italy. June 16, 2011. Nikon Coolpix P500.


Citations:
Photography Lighting Techniques. Retrieved from http:// www.essortment.com/photography-lighting-techniques-57951.html.
Understanding Natural Light Portrait Photography: A Guide to Learning to See Light. Retrieved from http://www.digital- photography-school.com/understanding-natural-light-por- trait-photography-a-guide-to-learning-to-see-light.
Showcase of Beautiful Shadow Photography. Retrieved from http://www.smashingmagazine.com/2009/03/01/showcase-of- beautiful-shadow-photography/ 


Jitesh, A. (2009 May 25). Seven Creative Uses of Shadow in Photography. Retrieved from http://www.brighthub.com/multimedia/photography/articles/35807.aspx
  

Depth of Field


Pink Flower. Cinque Terra, Italy. June 16, 2011. Nikon Coolpix P500.
def: the distance between the nearest and the farthest objects in an image judged to be in acceptable focus. Photos in this category leave the surrounding photo soft so that the subject is in focus and stands out dramatically from its surroundings. This could mean a subject in focus in the foreground with a blurred background or a blured foreground and background some with an object in the back in focus.


Technique:
- This technique is achieved by con- trolling the f-stop of the lens, which is achieved by dividing the focal length of the lens by the aperture of the opening of the lens. Aperture is the opening in the lens that controls how much light enters the lens, very much like the iris of our eye. A wide open aperture results in a very shal- low range of focus, and a small aperture gives you lots of depth and puts almost everything in focus. So for depth of field photography, we want a wide open or larger aperture, which means we would want a smaller f-stop value. 


-By getting really close to the image we can also control how sharp the background is. Most of the photos taken here were used with the macro lens, which allows the camera to focus closer to the subject and makes the background blurred, and very close physically to the subject.
- The distance between the subject and the background matters as well. For example a background that is farther away is easier to achieve the back- ground of depth of field photography.
- Larger film or sensors result in more out of focus in a photo than point-and- shoot photos where mostly everything is in focus. 


Flower Repetition. Rome, Italy. June 6, 2011. Nikon Coolpix P500.
2 Tone Flower. Pergamon, Turkey. June 26, 2011. Nikon Coolpix P500
Delos Plant. Delos, Greece. July 1, 2011. Nikon Coolpix P500.
Plant with Manarola Background. Cinque Terra, Italy. June 16, 2011. Nikon Coolpix P500.
Birthday Crown. Taken in Atlanta, Georgia. January 16, 2011. Nikon Coolpix P500 Macro Setting.

Citations:      ST site’s Guide to Still Photography Camera. Retrieved from http://stsite.com/camera/cam04.php
Richardson, J. (2010, June 10). Out of Focus - On Purpose. Retrieved from http://photography.nationalgeographic.com/photography/ photo-tips/out-of-focus-richardson/